|
You can create a new file at any time. The new file will be generated immediately and will be added in the section Other Files in the List of files.

| 1. | Click the File Creation button in the Assyst Real Estate toolbar. This will display the File Creation window. |
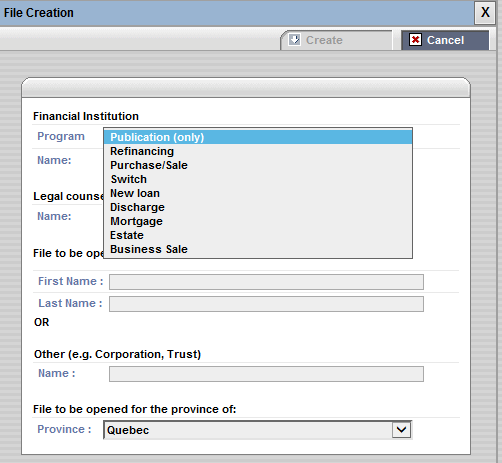
| 2. | Select in the the dropdown menu Program, the program for which you want to create a file. |
 If you select the program Publication (only) or Discharge, the field Name will be grayed out and you can not select the name using the dropdown menu. If you select the program Publication (only) or Discharge, the field Name will be grayed out and you can not select the name using the dropdown menu.
| 3. | Select in the dropdown menu Name, the name of the financial institution for which you want to create a file. |
| 4. | Select in the dropdown menu Legal counsel responsible for the file, the name of the notary you work for and who is responsible for the file. |
The Legal Counsel Responsible for the file field is only displayed for legal assistants.
| 5. | Enter the name of the natural or legal person to which the file will be associated in the field File to be opened in the name of: (The name entered will be the name of the file created) |
| 6. | Select in the dropdown menu Province the province for which the file will be open. |
| 7. | Click the Create button. |
The file is added to the list of you files in the Other Files section. (See Description of a creating file)
Do not accumulate too many documents in one single file, make separate files.
| 

